This is a multi-part review of Apple’s new Mac Mini 2018 just released recently in Nov 2018. The first part started off with the unboxing of the new Mac Mini 2018. In this second part, I’ll cover the issues I faced with the setup and also the upgrades I did to the Mac Mini 2018.
1. Initial Setup
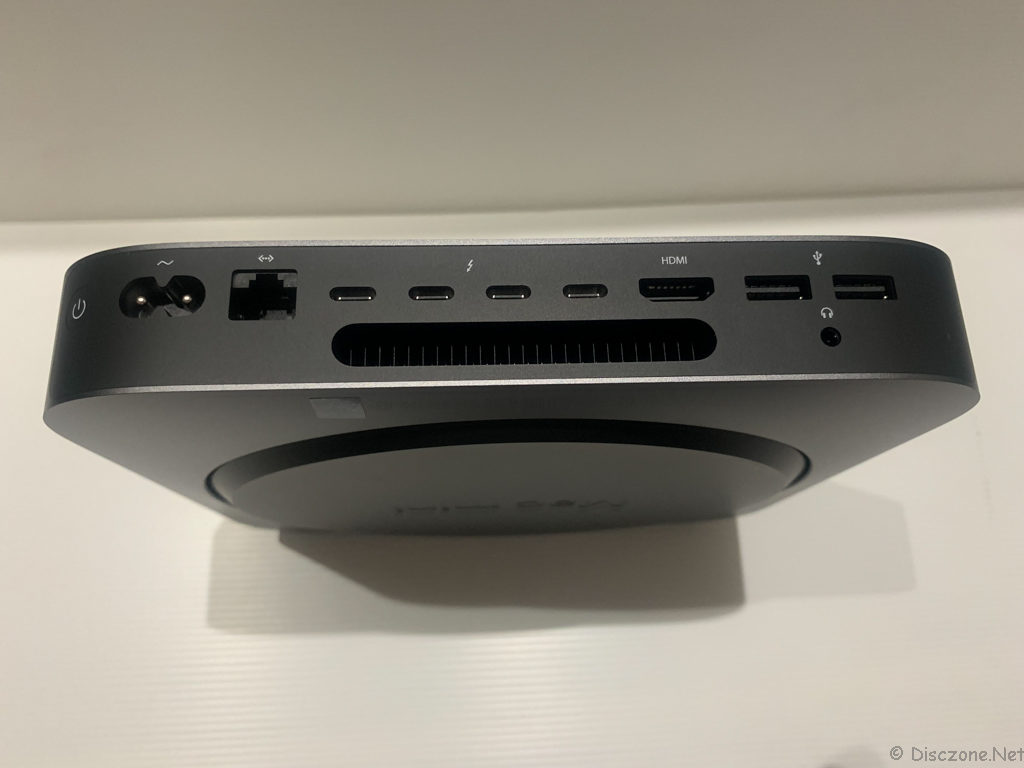
To start off the setup of the Mac Mini 2018, the minimum connectivity and supporting devices/elements required would be,
- Power cord
- Display (via either HDMI or Thunderbolt 3 or USB-C)
- Inputs (Keyboard and mouse via USB-A)
Usually, based on the user-friendliness of Apple products, the setup of the Mac Mini 2018 should be a breeze and a no brainer. However, much to my disappointment, I encountered something that was very weird. After connecting the minimum supporting elements and powering on the Mac Mini 2018, I was able to get the front LED to be lighted up. However, there is no display on my Dell UltraSharp U2717D Widescreen Monitor. I tried using a High-Speed HDMI Cable and a Thunderbolt 3 to HDMI cable, all yielding the same results. I did some googling and discovered that there are also others that had similar issues but they were on other models of monitors. I tried Apple Support but they wanted me to send my brand new Mac Mini 2018 back to them for diagnostics which I’m a bit reluctant. I’m pretty sure my monitors (yes, I have 2 of the Dell UltraSharp U2717D Widescreen Monitor). are fine as my PC and the old Mac Mini are both working fine on them.
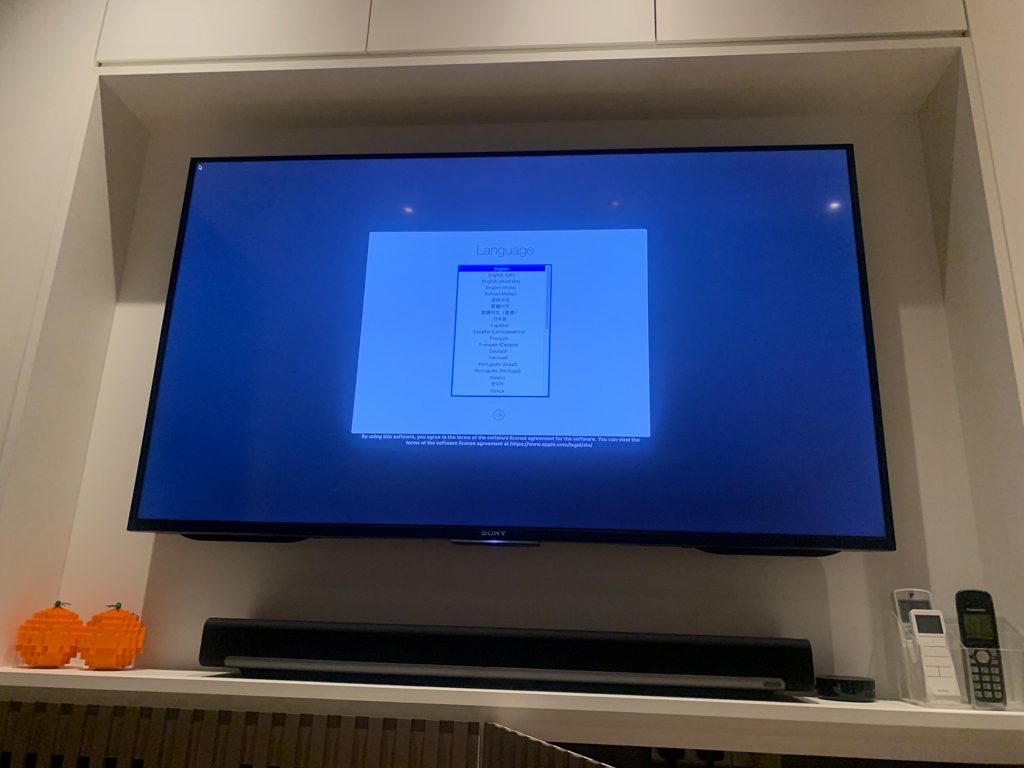
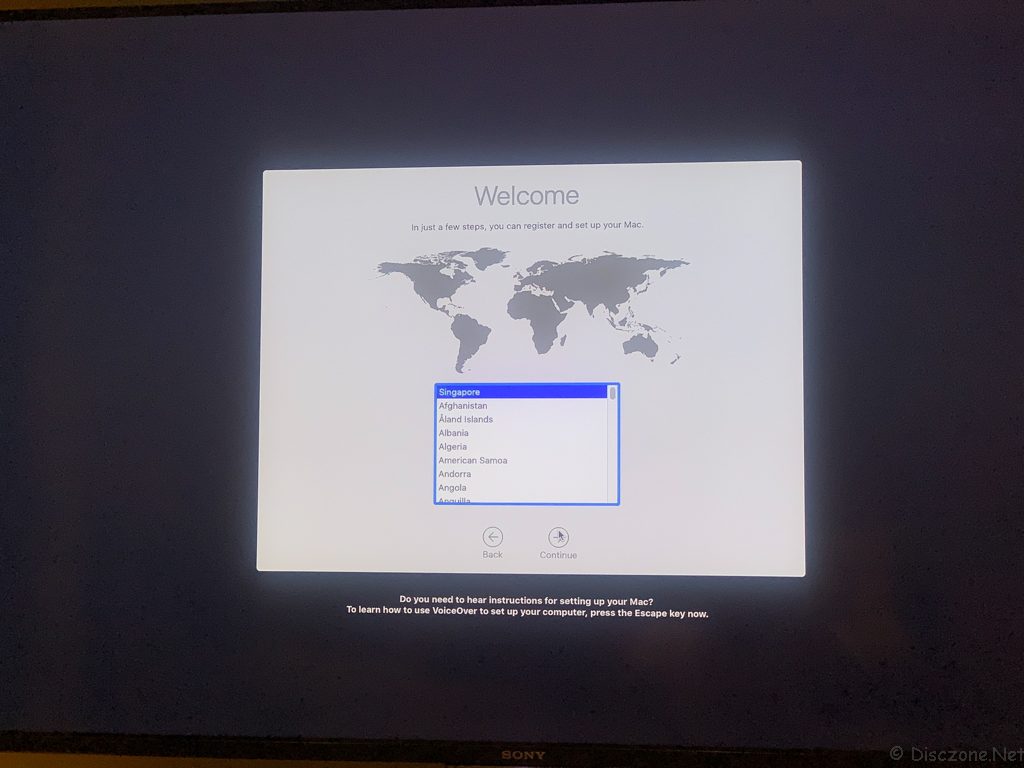
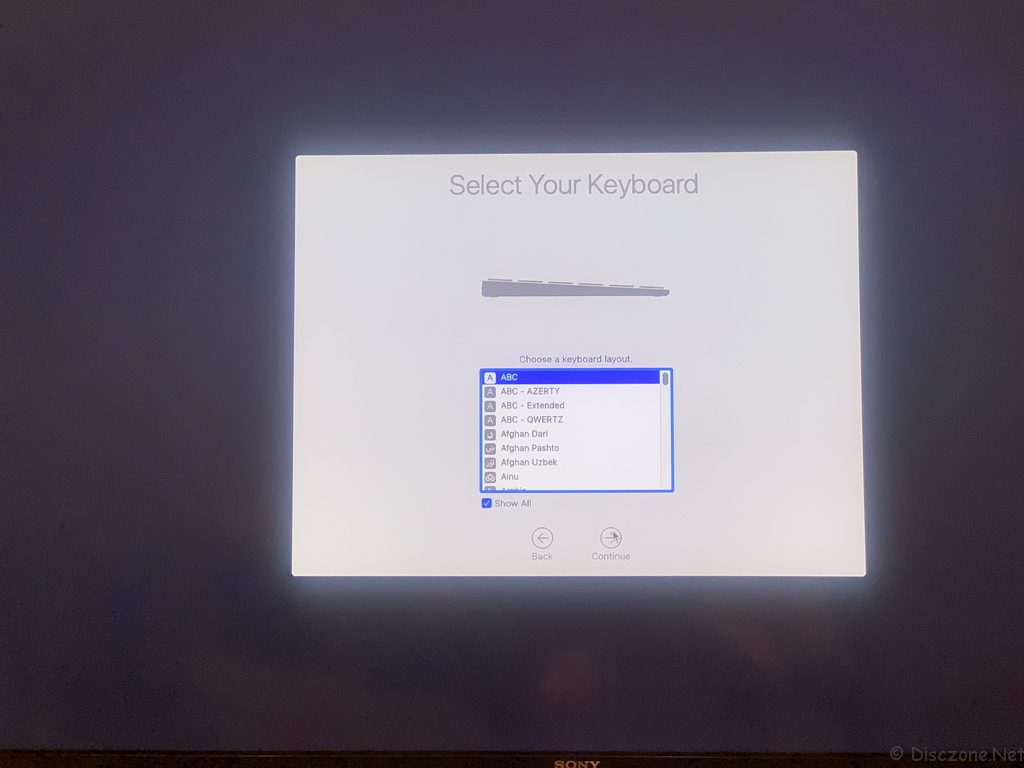
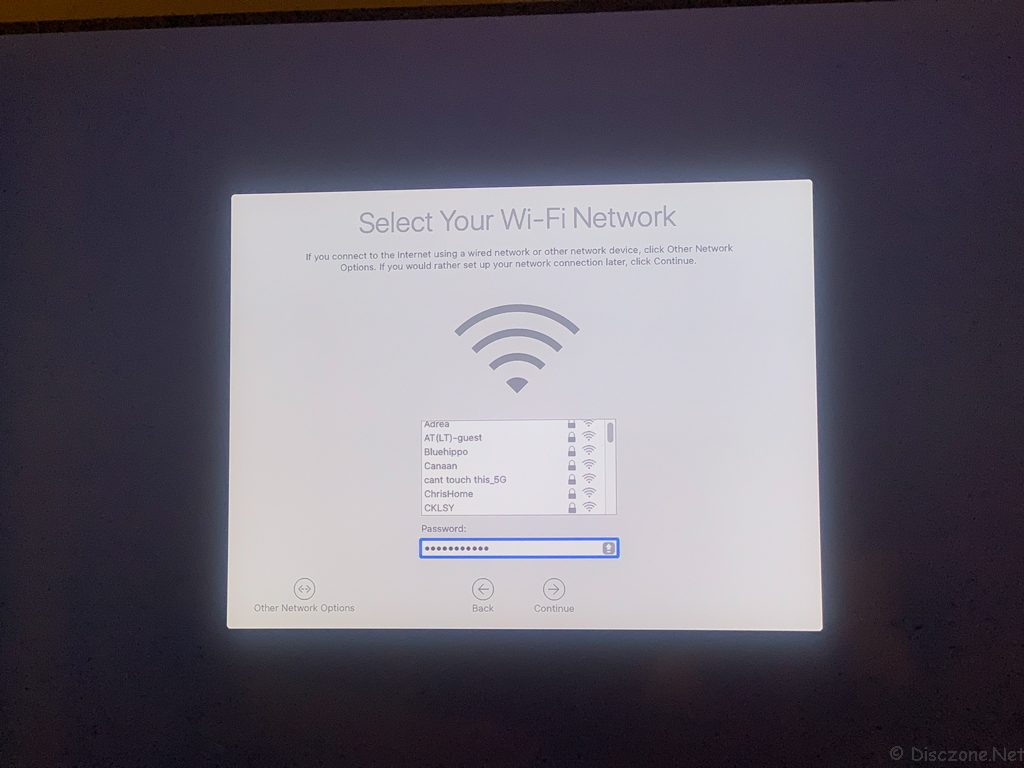
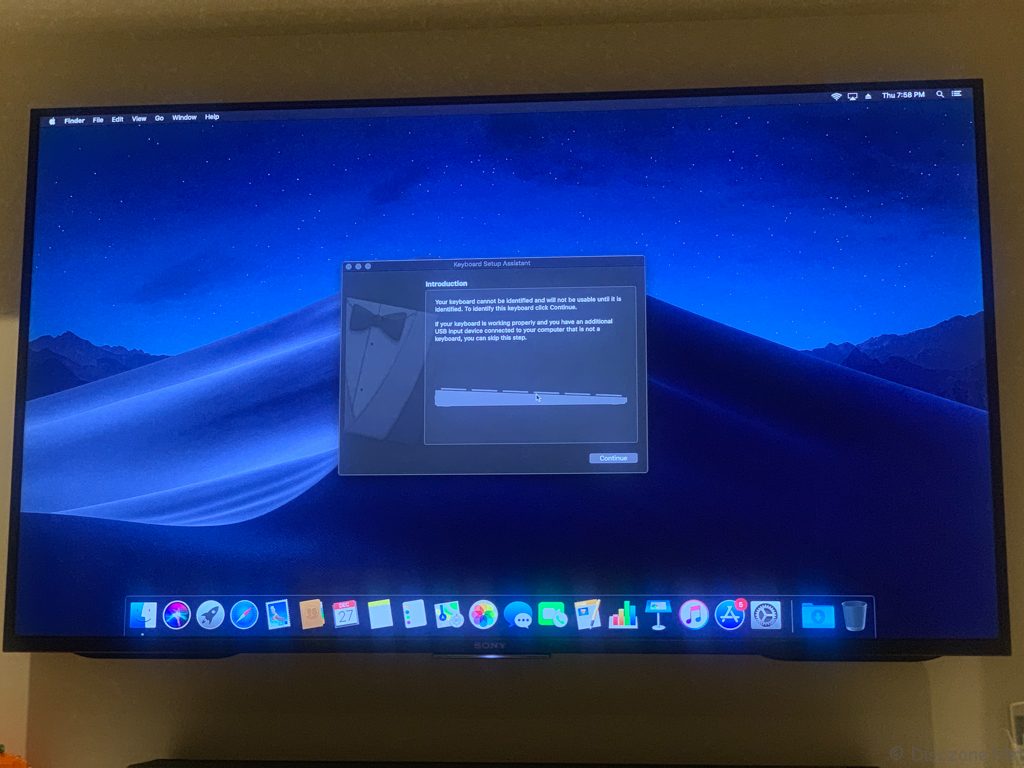
To eliminate the possibility of cables and ports issues with the Mac Mini 2018, I connected it to my Sony 55 inch 4K LED TV and gave it a go. Hey Presto! I got the macOS Mojave setup screen almost instantaneously. I was guided through the selection of Language, Region, Keyboard and finally Wi-Fi network. The whole installation process took less than 10 minutes to complete on this amazingly fast machine.
Take a look at the macOS Mojave screen on my TV after the setup was completed. 😀
2. Troubleshooting The Issue
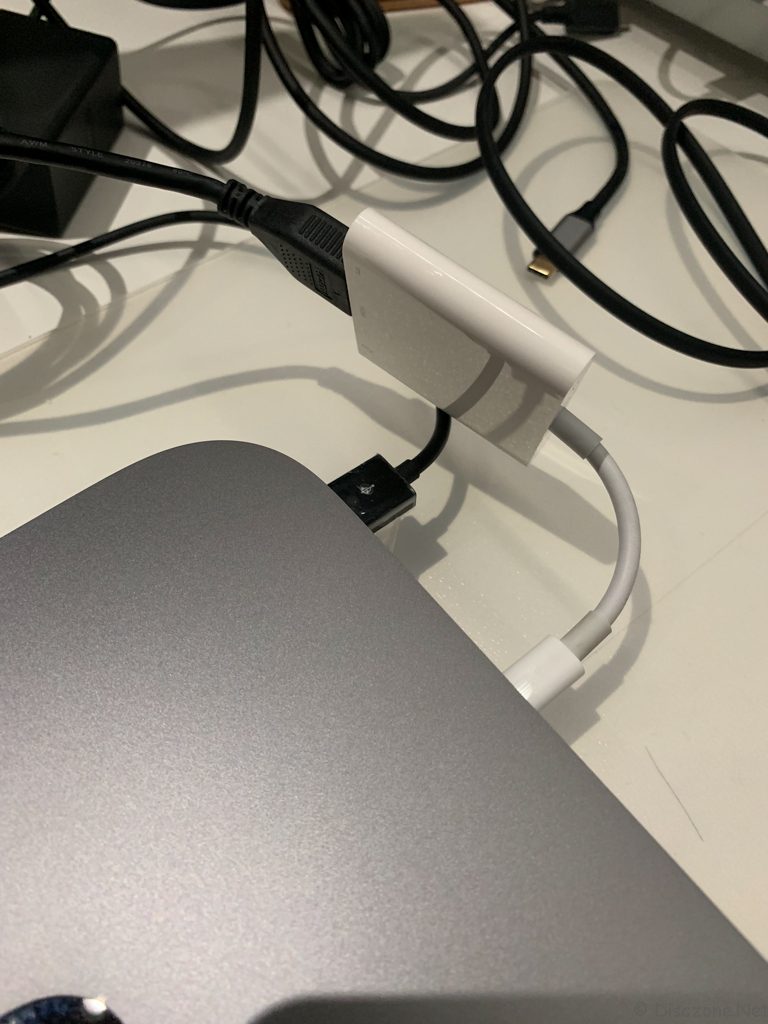
After successfully setting up the Mac Mini 2018, my next task was to get the whole thing working properly on my dual monitor configuration. The next thing I tried was to use the original Apple USB-C Digital AV Multiport Adapter and High-Speed HDMI Cable to connect to the Dell UltraSharp U2717D Widescreen Monitor. Sorry for the messy cable in this picture though. 😛 This time, much to my surprise, the Mac Mini 2018 booted up! I tried recycling the power a few more times and all resulted in success. I then used a Thunderbolt 3 to DisplayPort Cable that I just ordered from Amazon. It works too. After these, I switched back to the High-Speed HDMI Cable and the Thunderbolt 3 to HDMI cable that I started off with. Both worked nicely as well. This is so weird.
Nevertheless, after that, I did not encounter any other incidents of not able to boot the Mac Mini 2018 using either of my Dell UltraSharp U2717D Widescreen Monitor. I tried a couple more days with other permutations of cables and adapters but I could not replicate the initial problem with the display monitor that I have encountered. As I did not perform any system or software updates after I completed the initial setup, the only likely reason I can think of is that the initial setup using my TV has changed or made some settings that somehow corrected the display settings required for the Mac Mini 2018 to work properly on the Dell UltraSharp U2717D Widescreen Monitor. Anyway, the most important thing is that the issue does not recur (touch wood) anymore.
3. Upgrading the RAM
Next, let us take a look at upgrading the RAM of the Mac Mini 2018. For this, I did some research and order the two pieces of Crucial 16GB DDR4 2666 MT/s (PC4-21300) SODIMM 260-Pin Memory – CT16G4SFD8266 from Amazon. I wanted to get a dual 16GBx2 Kit but the item was out of stock. Hence I took the chance and ordered the individual pieces instead. However, I would strongly advise readers to go for the 16GBx2 Kit version to reduce the chance of incompatibility issues subsequently. I actually wanted to include a walkthrough of RAM upgrade steps and procedures in this review. However, as there are quite a few good online reference resources that gave a very detailed step by step on how to perform this upgrade, I decided to point to the guide that I followed. In this case, I used the video guide “How to upgrade RAM in the 2018 Mac mini and save money” on 9to5mac.com.
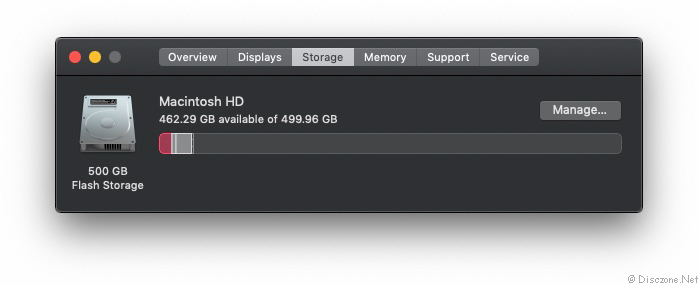
The upgrade process was pretty delicate but the proper tools and steady hands, you should also be able to complete the task too. After successful installation of the Crucial 16GB DDR4 2666 MT/s (PC4-21300) SODIMM 260-Pin Memory – CT16G4SFD8266, do check out the system information of your Mac Mini 2018 to make sure it detects the new memory correctly.
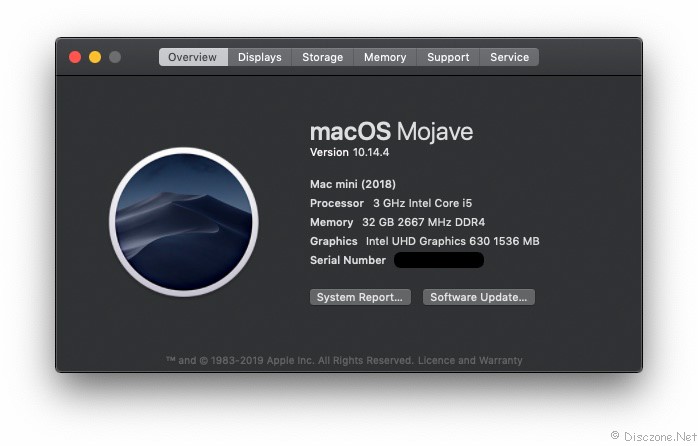
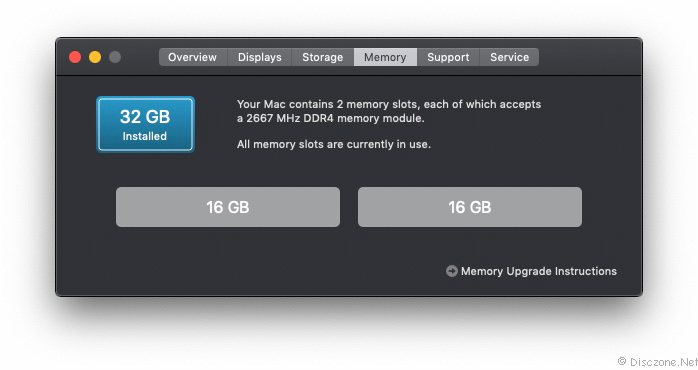 Since we are at this screen, might as well show you that the base installation of macOS Mojave only takes up about 30GB of disk space. This gives quite a bit of storage space for use even on a 250GB SSD on a standard Mac Mini 2018 configuration.
4. Closing Words
I bought the Mac Mini 2018 having in mind that it will replace my 5 years old Windows PC as my main computing in the months to come. However, the start of this journey was not as smooth as I have expected. Nevertheless, the Mac Mini 2018 itself is still very much a piece of artwork itself and I do enjoy looking and working on it. If you are currently in the midst of deciding a new computing platform, do seriously consider getting an Apple device and take on the new journey of exploring them together with me!

